

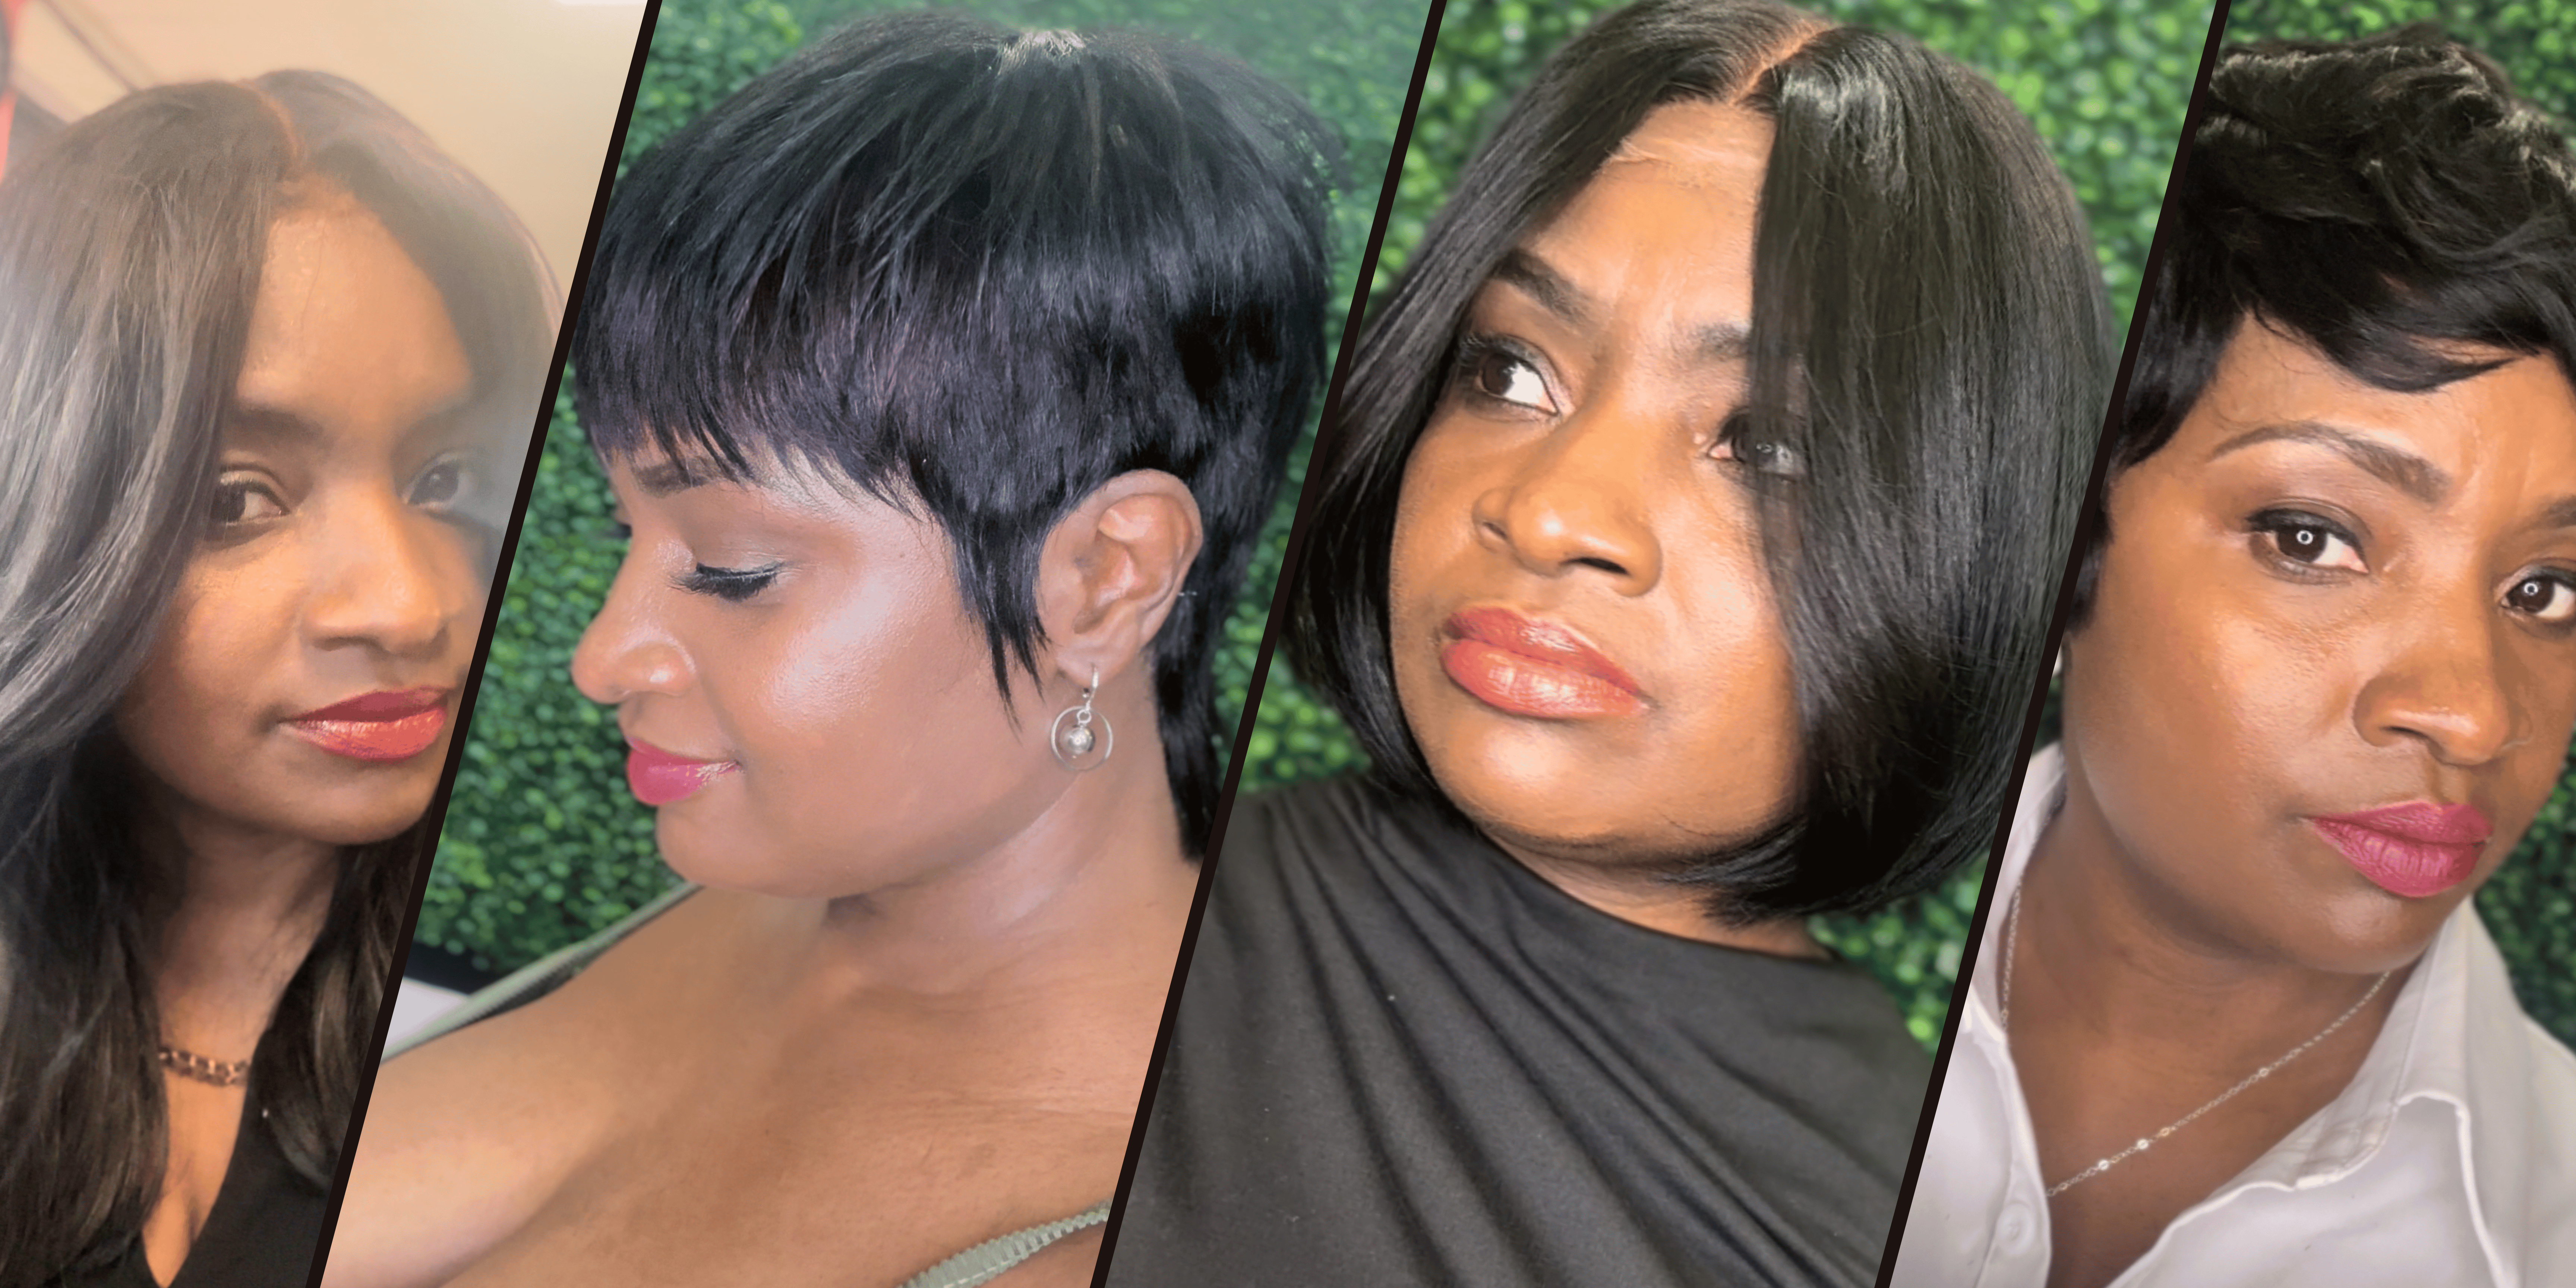
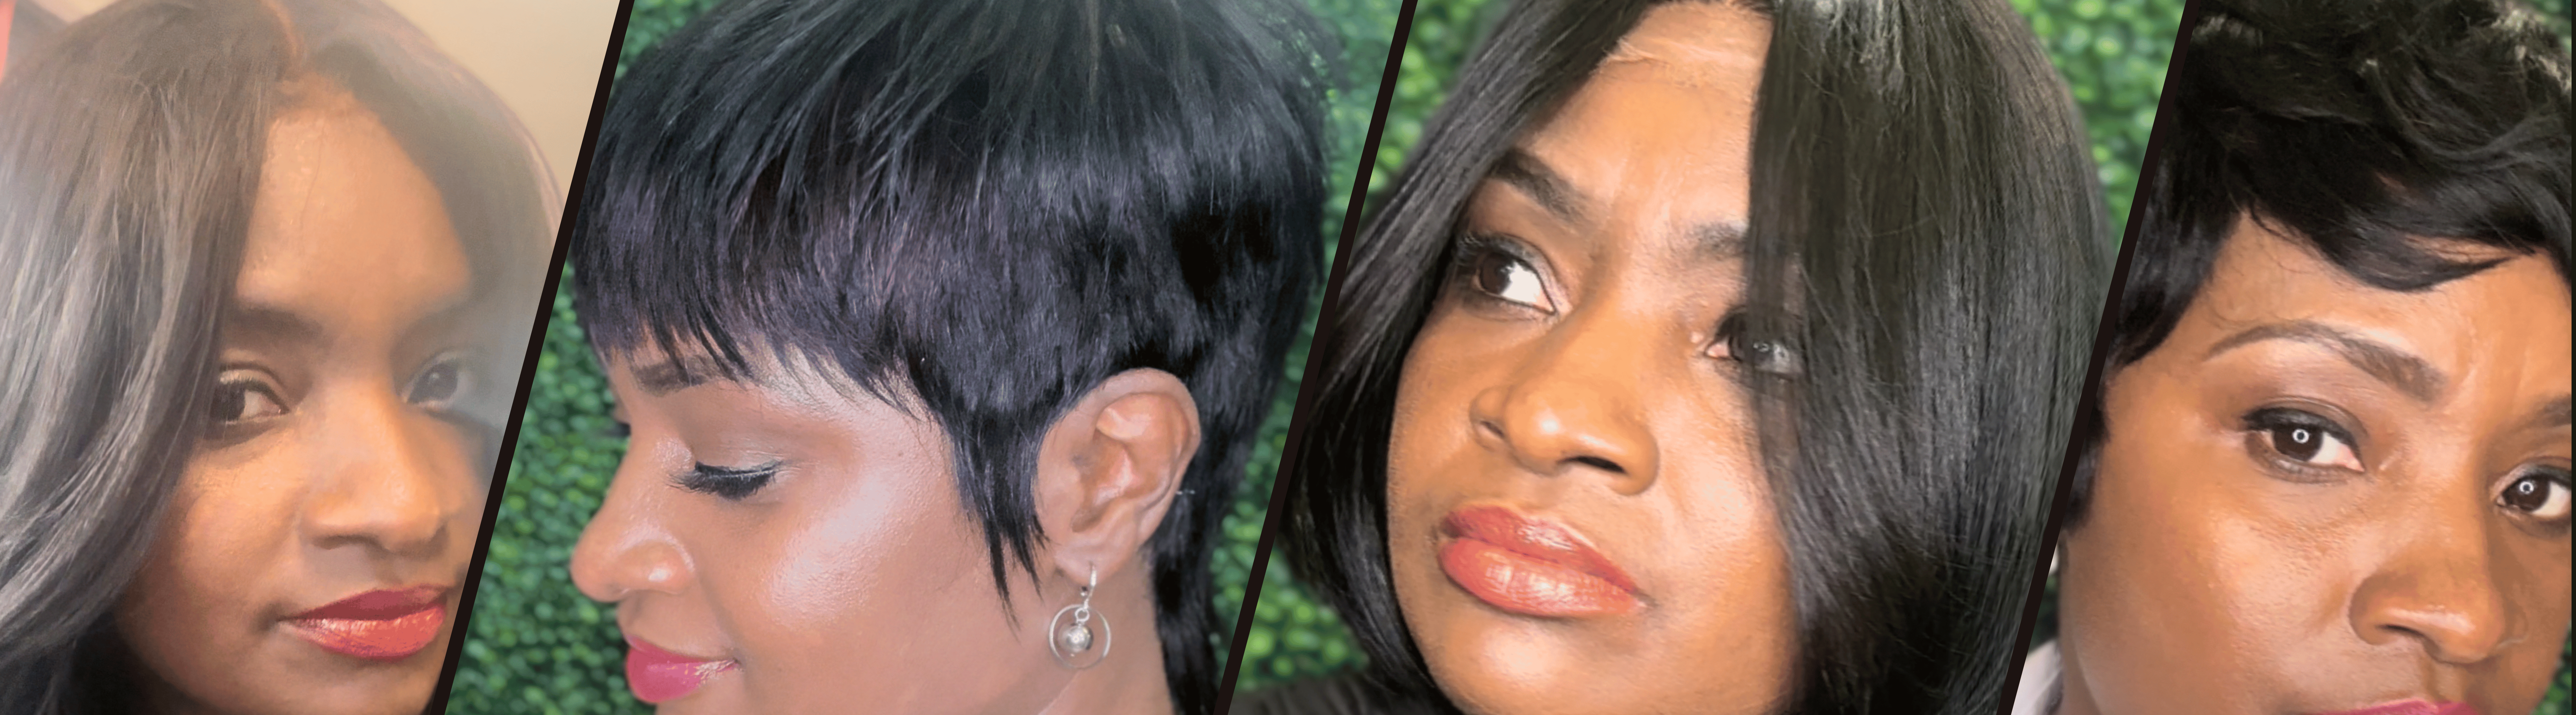
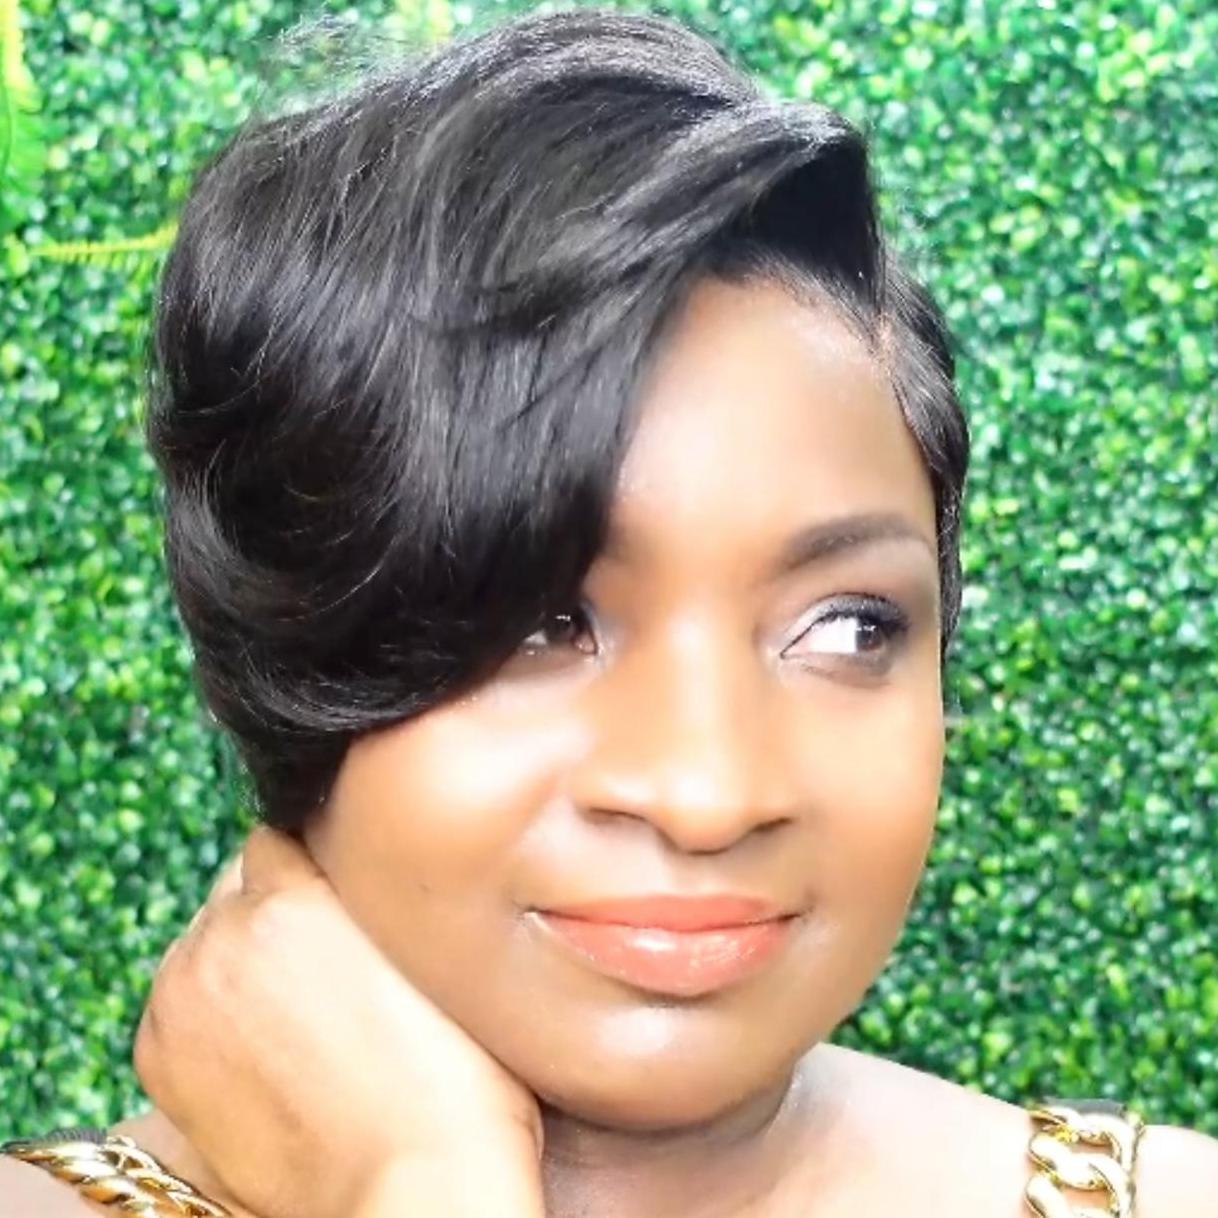
Welcome to Ms Kay Is Hair 💜
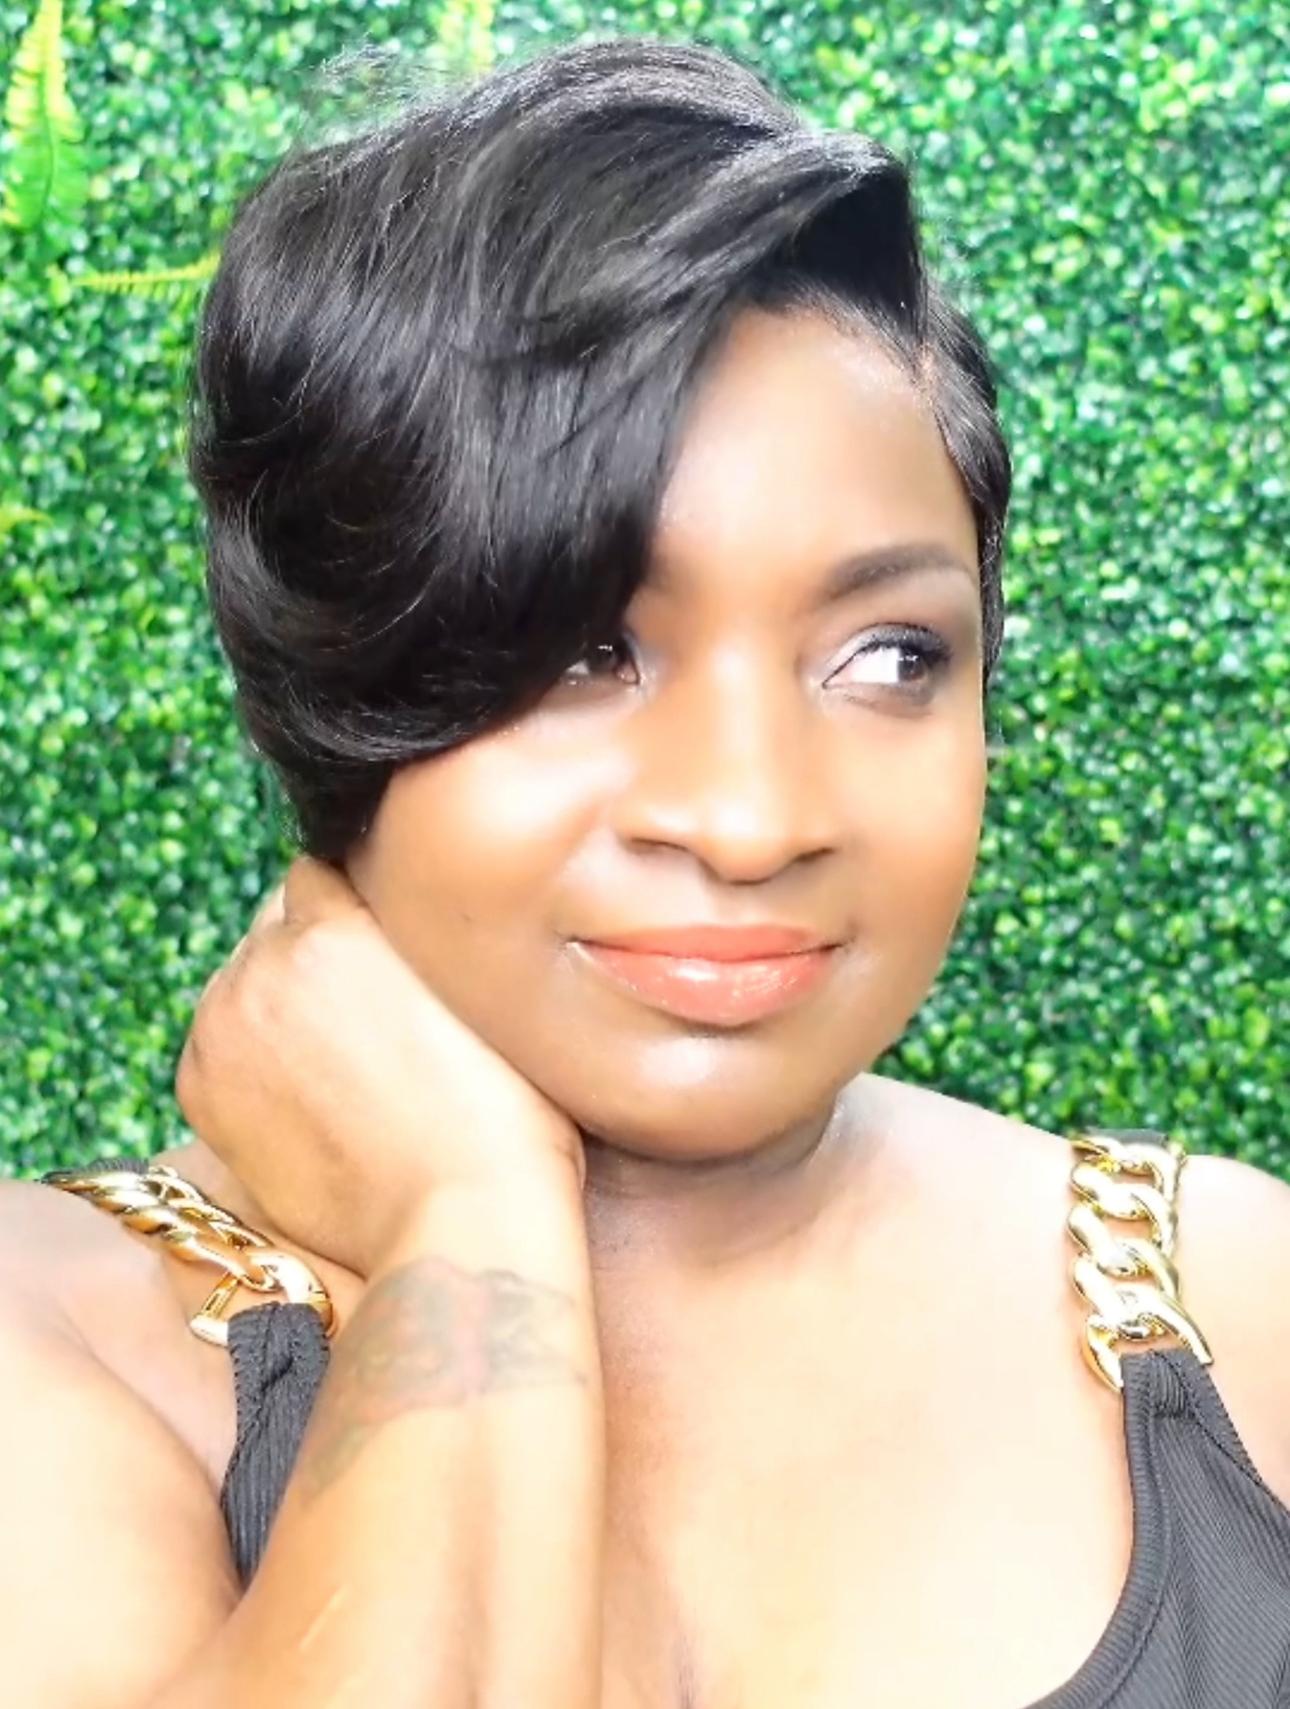
I create wigs, share techniques, and teach the beauty skills I’ve learned along the way. Whether you're here to improve your craft, gain confidence, or follow the journey—you belong here.
✨ Helping women feel confident one wig at a time.
✂️ Short pixie wig specialist | Hair education | Beauty tips
🎓 Learn techniques • Follow my journey • Ask questions
💜 Behind-the-scenes, tutorials & real conversations
💰 Support with tips • Unlock exclusive content • Join the community
Creating beauty. Teaching skills. Building confidence.
I create wigs, share techniques, and teach the beauty skills I’ve learned along the way. Whether you're here to improve your craft, gain confidence, or follow the journey—you belong here.
✨ Helping women feel confident one wig at a time.
✂️ Short pixie wig specialist | Hair education | Beauty tips
🎓 Learn techniques • Follow my journey • Ask questions
💜 Behind-the-scenes, tutorials & real conversations
💰 Support with tips • Unlock exclusive content • Join the community
Creating beauty. Teaching skills. Building confidence.
-
11 Posts
-
8 Photos
-
1 Videos
-
Female
-
04/06/1976
-
Followed by 1 people
Search



© 2026 NetworQ Social -Build a Community That Learns, Shares, and Earns
 English
English
 French
 Spanish
 Portuguese
 Deutsch
 Turkish
 Dutch
Dutch
 Italiano
 Russian
 Romaian
 Portuguese (Brazil)
 Greek
Greek
Recent Updates
-
When cutting the sides and nape of a quick weave I like to make a guideline first going around the shape, then I take my favorite feather razor and lightly stroke downwards lifting the hairs underneath to the guideline.
This will give a seamless blend.
If this helped a tip will be greatly appreciated so I can continue to give you free game like this.
You can watch the full video here: https://networq.co/posts/1437When cutting the sides and nape of a quick weave I like to make a guideline first going around the shape, then I take my favorite feather razor and lightly stroke downwards lifting the hairs underneath to the guideline. This will give a seamless blend. If this helped a tip will be greatly appreciated so I can continue to give you free game like this. You can watch the full video here: https://networq.co/posts/14370 Comments 0 Shares 5K Views 4 0 Reviews -
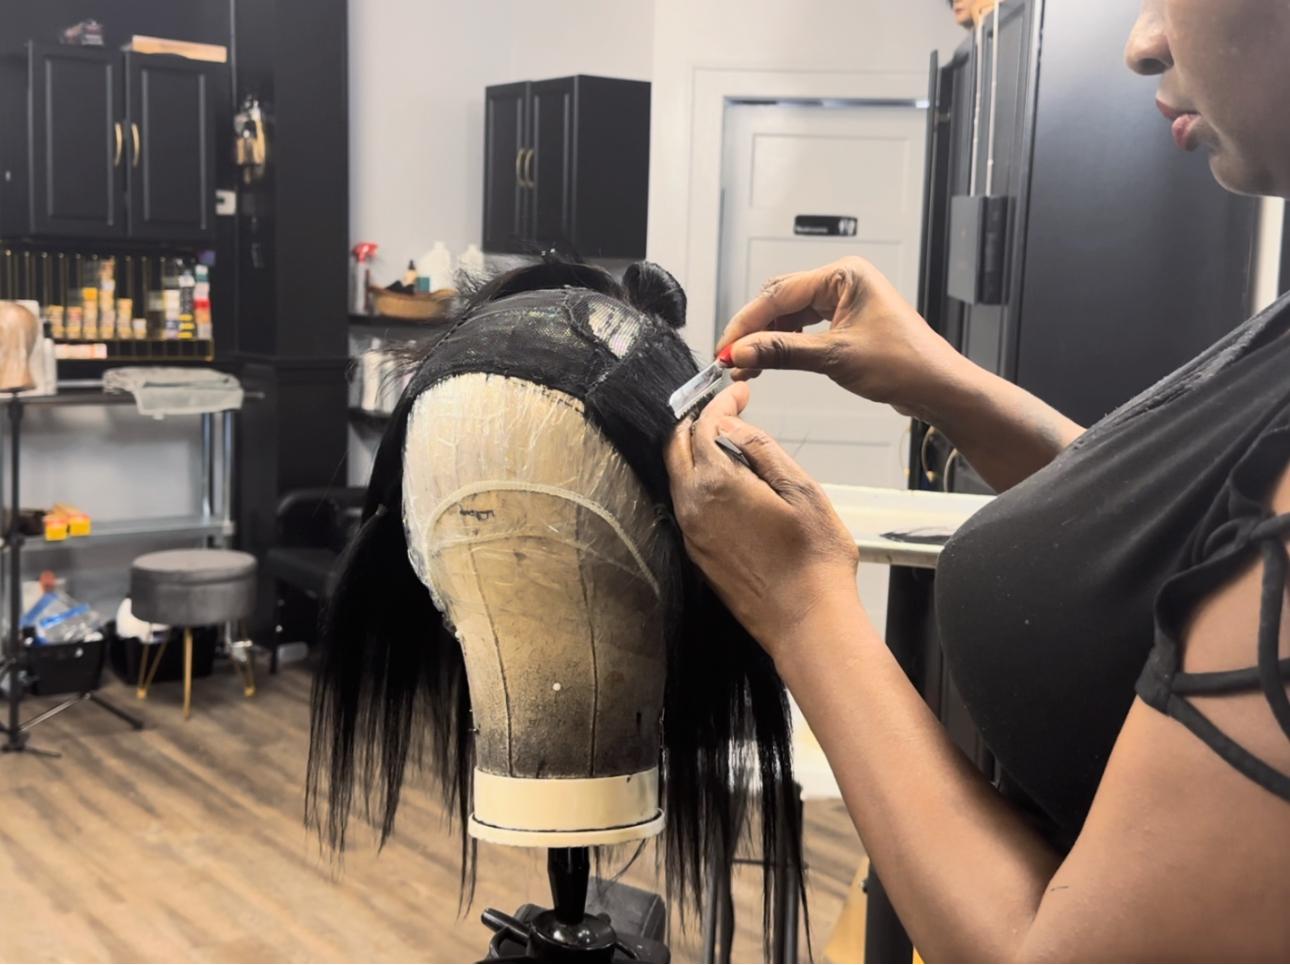
Im using the wrapping paper for gift baskets called shrink wrap https://a.co/d/03YiqdTc to prep my canvas head for wig making. These steps will prevent product spillage and give you a smooth surface when styling a short pixie wig. Here is the steps in order of the images. If you would like to see the full step by step tutorial join my community https://networq.co/groups/salonqualitywigs
Step 1: Use a heat gun and cellophane wrap (https://a.co/d/0160bUd3)
Step 2: Secure the wrap with push needles, I use the ones with a pearlized ball head (https://a.co/d/08noqGEx)
Step 3: Gently direct the hot glue gun facing down towards the canvas head in 1 second intervals per spot.
Step 4: Press your hand over the hot aired section immediately to force the mold
Step 5: Use clear tape to fill any holes created to the shrink wrap from the hot glu gun.
There you have it, your canvas head is now prepped and ready for for custom wig making and safe from products like hair dyes, gel etc.
If this helped a tip will allow me to continue sharing these free wig making hacks and tips.Im using the wrapping paper for gift baskets called shrink wrap https://a.co/d/03YiqdTc to prep my canvas head for wig making. These steps will prevent product spillage and give you a smooth surface when styling a short pixie wig. Here is the steps in order of the images. If you would like to see the full step by step tutorial join my community https://networq.co/groups/salonqualitywigs Step 1: Use a heat gun and cellophane wrap (https://a.co/d/0160bUd3) Step 2: Secure the wrap with push needles, I use the ones with a pearlized ball head (https://a.co/d/08noqGEx) Step 3: Gently direct the hot glue gun facing down towards the canvas head in 1 second intervals per spot. Step 4: Press your hand over the hot aired section immediately to force the mold Step 5: Use clear tape to fill any holes created to the shrink wrap from the hot glu gun. There you have it, your canvas head is now prepped and ready for for custom wig making and safe from products like hair dyes, gel etc. If this helped a tip will allow me to continue sharing these free wig making hacks and tips.0 Comments 0 Shares 5K Views 0 Reviews -
This is an image of a quickweave I did on a client, I wanted to demonstrate for you the difference in the necklines.
Here you can see two options one is a hard finish which was trimmed with the clippers; this is called a lineup and the other is a soft finish which is feathery. Which one do you prefer?This is an image of a quickweave I did on a client, I wanted to demonstrate for you the difference in the necklines. Here you can see two options one is a hard finish which was trimmed with the clippers; this is called a lineup and the other is a soft finish which is feathery. Which one do you prefer?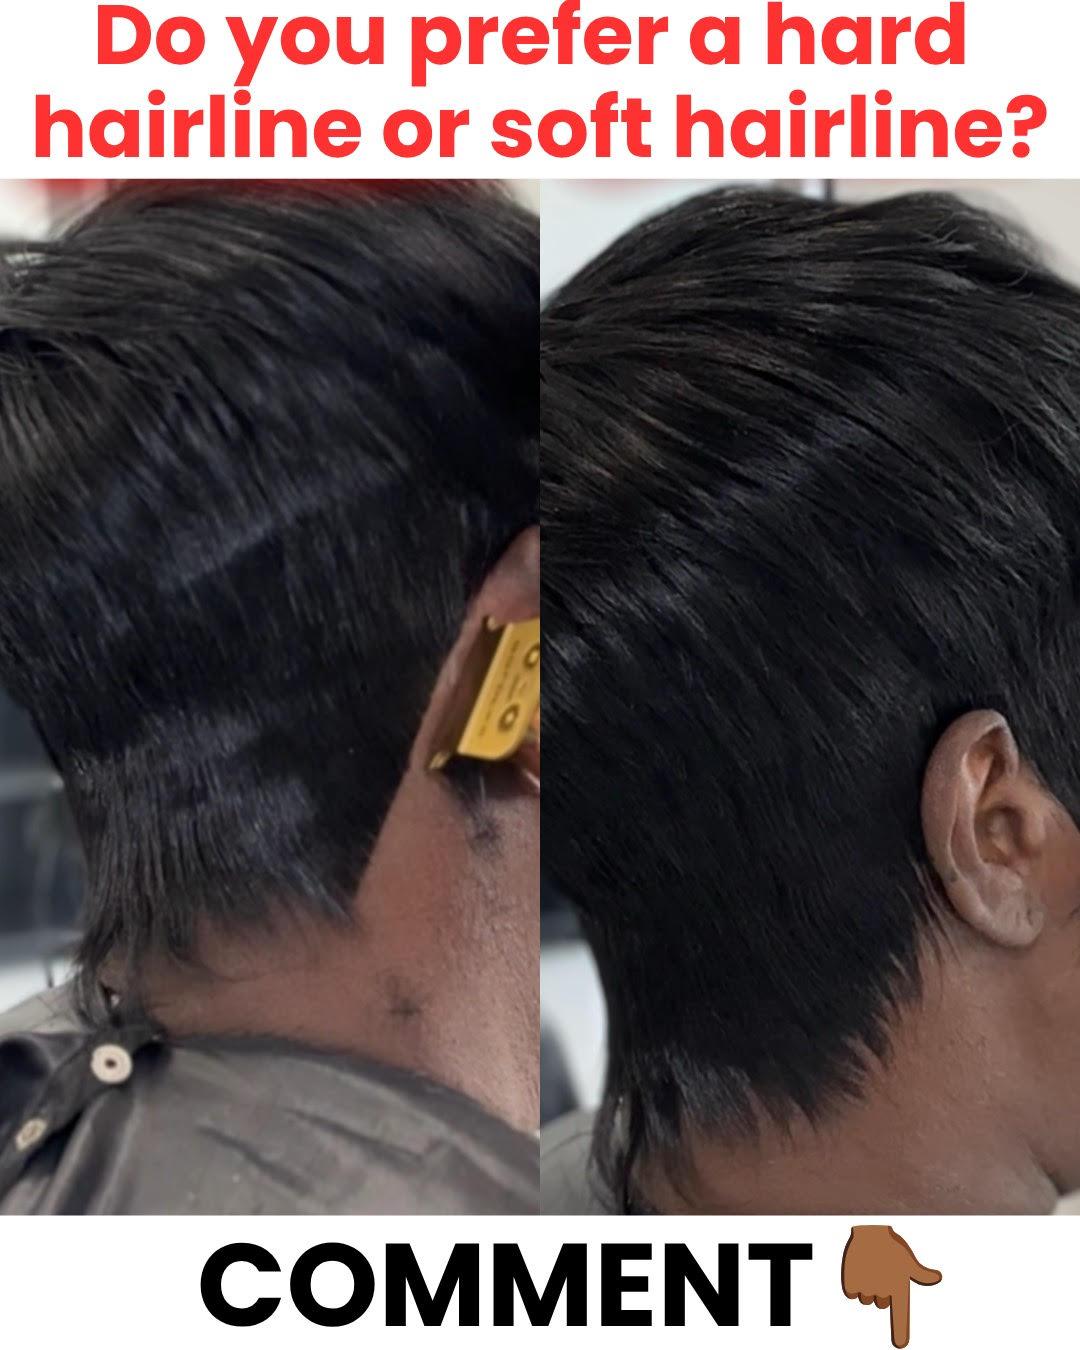 0 Comments 0 Shares 5K Views 0 Reviews
 -
You can finish your custom short pixie wig neckline with a hard (trimmed) or soft (feathered) look, listen to this voice note to learn how...You can finish your custom short pixie wig neckline with a hard (trimmed) or soft (feathered) look, listen to this voice note to learn how...0 Comments 0 Shares 5K Views 3 0 Reviews
-
FYI: When crafting a custom wig you can also sew by hand just make sure that you are looping the needle up instead of down so that the weft will be flat.
I just wanted to share with you some free game.
If this helped you a tip will be greatly appreciated to help me continue to share these wig making hacks and short cutsFYI: When crafting a custom wig you can also sew by hand just make sure that you are looping the needle up instead of down so that the weft will be flat. I just wanted to share with you some free game. If this helped you a tip will be greatly appreciated to help me continue to share these wig making hacks and short cuts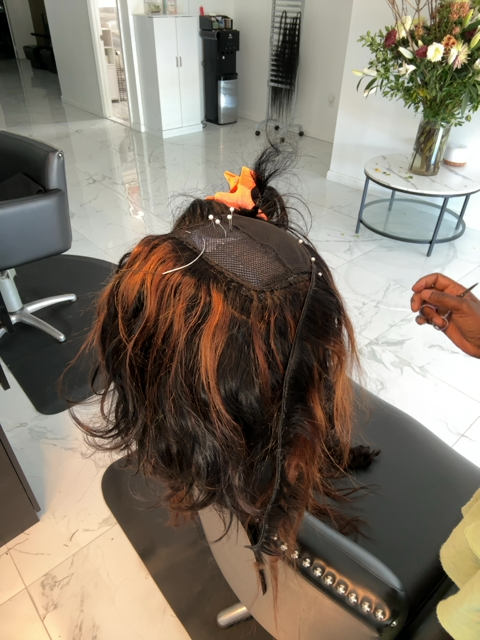 0 Comments 0 Shares 5K Views 0 Reviews
More Stories