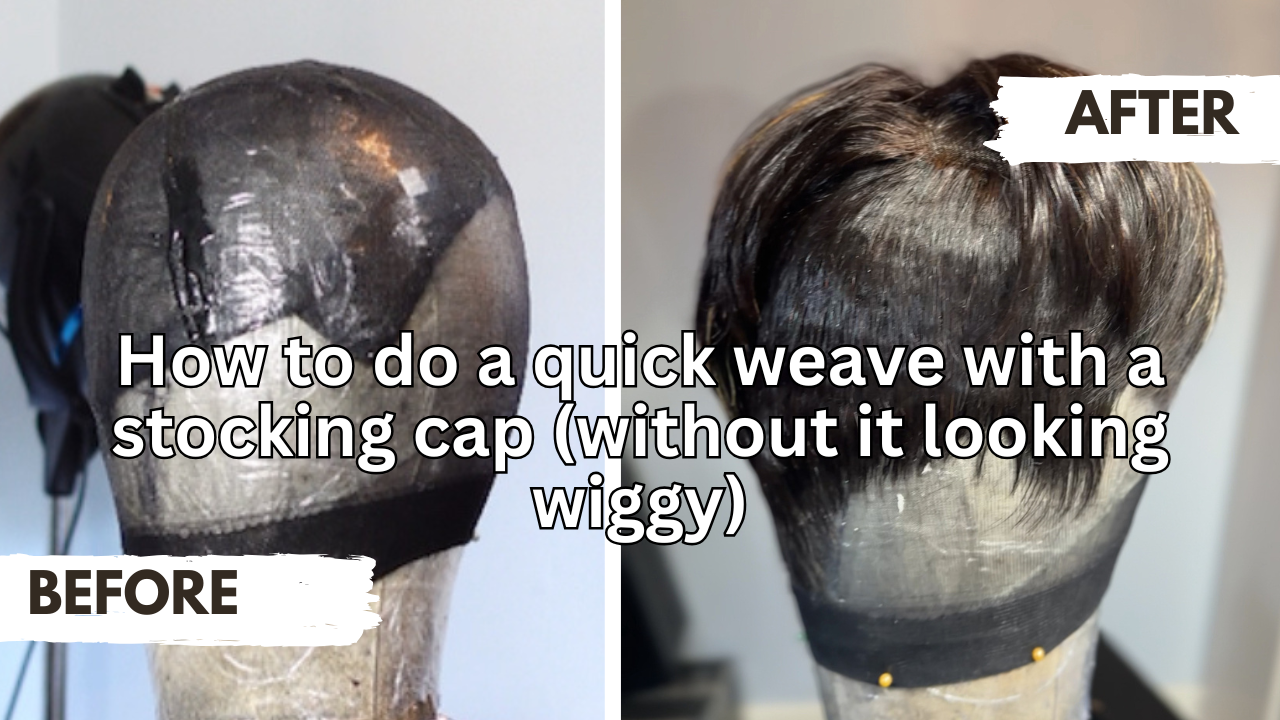
How to Do a Stocking Cap Quick Weave (Without It Looking Wiggy)
The problem isn’t your hair. Most stylists wont share this with you.
You searched “how to do a quick weave with a stocking cap” because you want that clean, salon-looking finish…
but every time you try it (or watch someone else do it), it comes out looking too wiggy or too helmet-ish and don't get me started on the hairline.
And the wild part is that most people will think it's the hair they used, but it's not.
You don't need to use virgin hair bundles, pack hair is perfect especially for short quickweaves.
It’s all about density control, placement, and the cut that will give you a flawless professional quick weave.
What does “stocking cap quick weave” actually mean?
A stocking cap quick weave is when you:
- Prep and protect your hair
- Put a stocking cap on top
- Bond (glue) hair wefts onto the cap
- Then cut and style it into a finished look
But here’s the missed step:
Most people just use a tinkle bell razor comb to cut the style.
They never customize the cut like it’s real hair using precision hair cutting techniques.
Why Do My Quick Weave Look Wiggy?
A quick weave looks professional when:
- you split wefts
- you space tracks
- you build a shape map (guidelines)
- and you cut it like hair, not like “weave”
That’s the difference between “bulky” and “salon quality.”
A quick weave looks professional when:
- you split wefts
- you space tracks
- you build a shape map (guidelines)
- and you cut it like hair, not like “weave”
That’s the difference between a quick weave done by a “pro” and “diy quickweaves” done at home.
Step-by-Step: How to Do a Stocking Cap Quick Weave (Salon-Quality Method)
Step 1: Prep first (because scalp health is the foundation)
Before we even talk about glue:
- Make sure your hair is protected and flat underneath (braids, mold, or wrap)
- Use a protective layer so adhesive isn’t sitting directly on hair
Step 1: Prep first (because scalp health is the foundation)
Before we even talk about glue:
- Make sure your hair is protected and flat underneath (braids, mold, or wrap)
- Use a protective layer so adhesive isn’t sitting directly on hair
Important: If you’re wondering, “Can a quick weave stocking cap cut off circulation and cause hairline baldness?”
Short answer: The stocking cap itself does not cut off blood circulation. It’s stretchy, not compressive.
What can contribute to thinning over time—especially around the edges—is excess tension, friction at the hairline, product buildup, and improper removal.
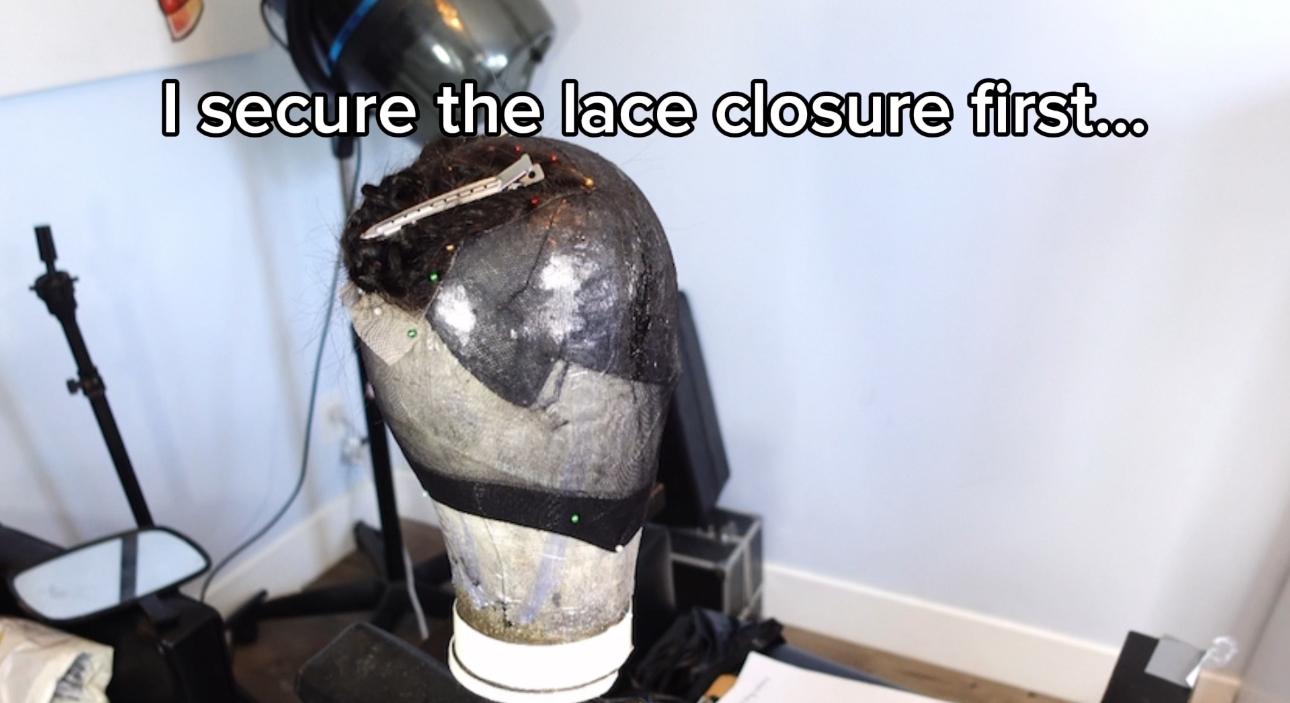
Step 2: The closure trick that makes it look like real scalp
If you’re using a 4x4 closure, here’s the move:
The “two-part scalp” method
- Take your 4x4 closure
- Cut it down the middle to create two parts
- This gives you realistic scalp on both sides instead of one stiff center
Why a razor?
Because you want to cut the lace clean without slicing hair.
Your key placement measurement
Measure from:
- temple area (where the eyebrow arch begins)
to - top of the ear
For me, that was about 3¼ inches, and I transferred that measurement to the cap so placement is balanced.
Step 3: Secure the closure before tracks (so your endgame is clear)
Yes, people glue first.
But sewing it down lightly first keeps it from shifting while you’re moving fast.
- Use a weaving needle + thin polyester thread
- Stitch about 1 inch apart
- You’re securing it—not quilting a blanket
Why this matters:
It prevents the closure from sliding while tracking and keeps the hairline