How to Customize a Wig in 7 Easy Steps: A Beginner’s Guide to Creating Your First DIY Short Pixie Wig
Welcome to Your Wig Customization Journey
When I first started making wigs, it wasn’t part of some big business plan.
Truth is, I was in a rough place. I was homeless, tired, and honestly just trying to feel like myself again.
Life felt heavy, and when I looked in the mirror, I didn’t see the woman I knew I could be.
So one day, I decided to do something about it.
I took what I knew from hairstyling and made my first wig.
I wasn’t expecting much — I just wanted to feel a little better about how I looked.
But when I put that wig on, everything changed.
People started complimenting me everywhere I went.
For the first time in a while, I smiled when I saw my reflection.
And let me tell you — it felt good not to have to do my hair every single morning.
That’s when I realized this was more than just a quick fix. It was therapy. It was confidence.
I already had a background in hairstyling, so cutting and styling came naturally.
But I knew one thing for sure: I didn’t want those cheap, stiff wigs you find online.
I wanted something that looked real — something that looked like me.
That’s what pushed me to learn how to customize wigs the right way.
And now, I’m going to teach you how to do the same.
By the end of this guide, you’ll know exactly how to customize a short pixie wig from start to finish and you don't need a salon license, or a sewing machine.
We are going to create a fresh new look that fits your face, style, and story.
🎥 Insert a short 5-second before-and-after video loop (ALT: Before and After Wig Customization Example)
Step 2: Choose Your Wig Base
When you’re learning how to customize a wig base, the type of cap you start with makes all the difference.
Think of it like building a house — your base decides how natural your “hairline” looks and how comfortable your wig feels.
Now, I use three main types of wig bases for my pixie wigs:
1. Netted Cap
This one’s my go-to for everyday wear. It’s simple, lightweight, and completely glue-free which means you can put it on and take it off whenever you want.
Perfect for beginners or anyone who doesn’t want to deal with the mess of adhesives.
Why I love it: It’s breathable, easy to style, and comfortable for all-day wear. If you just want something quick and natural, this is your best friend.
2. 360 Lace Frontal
Now this one is my personal favorite for pixie cuts.
It gives you lace all the way around the perimeter, which means your hairline looks more realistic from the front, back, and sides.
Most people use a 360 lace wig to make ponytails, but I like to use it for a tapered pixie cut instead.
It gives the style a more natural look around the edges. Plus, you can part it, or style it any way you want without anything showing.
Pro Tip: If you want that “it grew from my scalp” look, the 360 frontal is where it’s at.
3. Full Lace Wig
This one is the most realistic of them all. The entire wig is made from lace, so you can part it anywhere. It takes a little more work to install, but the payoff is worth it — especially if you want a natural, salon-quality look.
Keep in mind: Full lace wigs are usually more delicate and pricey, so save them for when you’ve got your customization technique down.
📸 Insert Visual: Side-by-side image comparison (ALT: Lace Front vs Full Lace Wig)
When choosing your wig base, think about your comfort level and how often you’ll wear it.
Start simple, then work your way up as your confidence grows. The goal isn’t just to make it look good — it’s to make it feel like you.
Step 3: Prep Your Tools
Before you start cutting or shaping your wig, you need to make sure you’ve got the right tools ready to go.
I always say, "your tools can make or break your results."
You don’t need a fancy salon setup, but you do need the basics to get that clean, natural pixie look.
Here’s what I use:
✅ Cutting Shears: For clean, sharp cuts that give your pixie shape.
✅ Thinning Shears: Helps remove bulk and blend layers so the wig looks more natural.
✅ Duck Bill Clips: Keeps sections in place while you cut.
✅ Butterfly Clip: Holds the hair back when you’re shaping around the face.
✅ Water Spray Bottle: Lightly mist the hair to make cutting easier and more even.
✅ Small Rubber Bands: Helps you section the hair and control your shape as you go.
Pro Tip: Always start with clean, detangled hair before cutting. If your wig has knots or tangles, you’ll end up with uneven layers.
📸 Insert Visual: Thinning the wig clip (ALT: How to Cut a Short Pixie Wig)
🔗 Internal Link: [Learn how to safely detangle your wig here.]
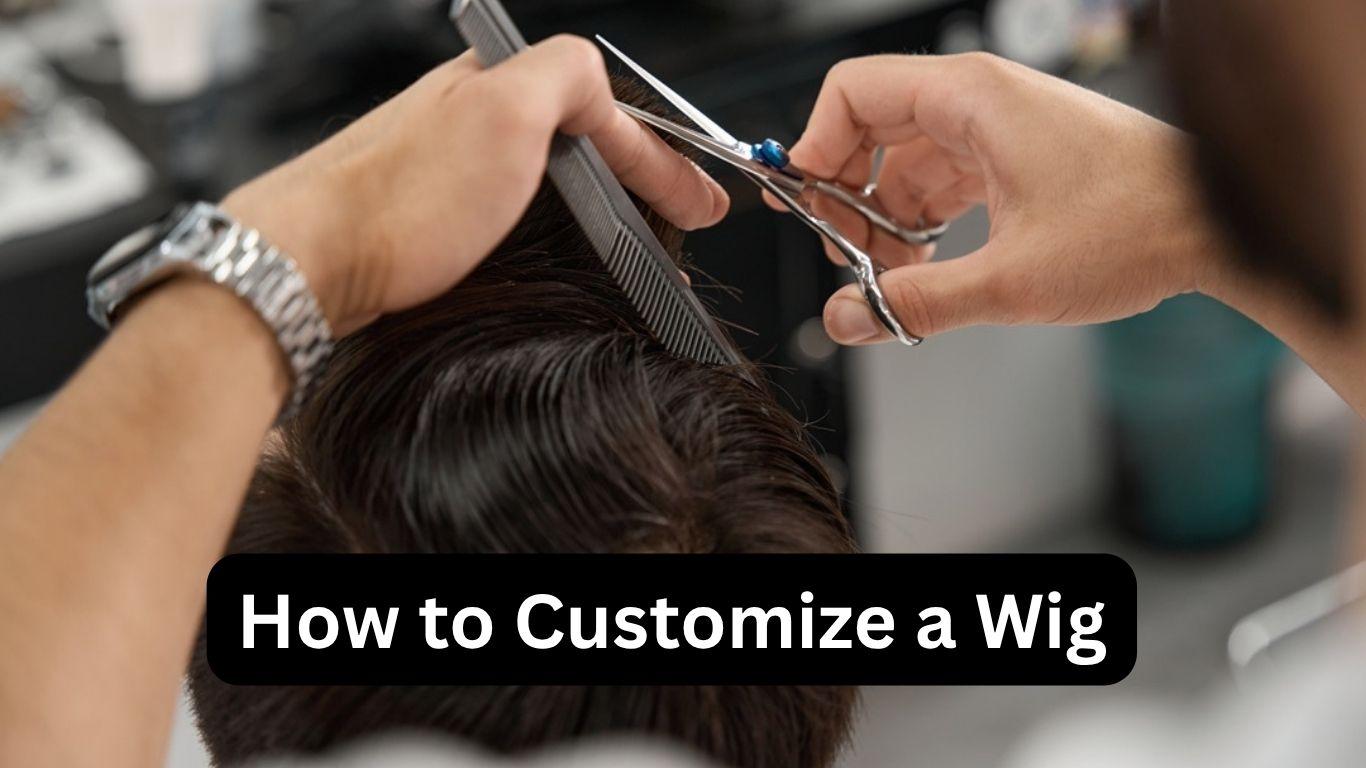
Step 4: Customize the Sides and Back First
When you’re doing wig customization, the secret to a natural pixie look is all in the sides and back.
This is where you create that clean, tapered shape that frames your face and gives your wig that salon-finished look.
Start by separating the top section of the wig from the sides and back. Use clips or pins to keep the top hair out of the way, you’ll work on that part later.
Then, take small sections of hair around the sides and back, and hold each section at a 90-degree angle from the scalp.
That just means straight out — not too high, not too low.
Now, trim slowly and evenly around the whole perimeter. Think “less is more.” You’re shaping, not chopping.
💡 Pro Tip: Use your comb as a guide. Move around the head in small sections instead of trying to cut everything at once.
⚠️ Warning:
Leave room for error. If you cut too much, you can’t fix that — but if you cut a little longer, you can always go back and adjust.
📸 Visual: Before-and-after close-up shot of the back and sides (ALT: Natural-Looking Customized Wig Taper).
When you take your time on this part, your wig starts to come alive. The edges will blend smoother, the shape will look softer, and your pixie will start to look more like it grew from your own scalp.
Step 5: Add Color or Highlights
Now that your cut is taking shape, let’s talk about color. This part can really bring your custom pixie wig to life, but it’s also where a lot of people mess up if they don’t know what kind of hair they’re working with.
Here’s the truth: not all human hair wigs can be colored the same way.
If your wig is made from dark human Remy hair, it might only lift one or two levels lighter, meaning it’ll go from dark brown to a soft reddish or copper tone.
That’s completely normal. Beauty supply “pack hair” doesn’t always lift evenly, no matter how long you leave the bleach on.
Trust me, I’ve tried it. I once took a dark brown Remy wig and got it to lift just enough to reveal a reddish-orange tone.
Instead of fighting it, I worked with it and just deposited a color that complimented that warm undertone. The result was beautiful.
Now, if you’re using virgin hair, that’s a different story. Virgin hair hasn’t been processed, so it’s more flexible. You can safely lighten it several shades and tone it however you want.
💡 Pro Tip: If you’re new to coloring wigs, start small. Use temporary methods like adding pre-colored wefts or clip-in highlights instead of bleaching the whole wig.
You’ll get the same pop of color — without risking damage.
Step 6: Style Your Wig
Now that you’ve shaped and colored your wig, it’s time for the fun part — styling!
This is where your pixie comes to life.
Ask yourself:
Do you like tight curls that frame your face, or do you prefer a soft bump you can finger-style and go?
Pixie cuts are all about layers, texture, and movement. The way you style those layers is what makes your wig look natural and full of personality.
Here’s what I tell my students all the time:
One good haircut can give you five different looks.
You can play around with:
-
Curls for a soft, feminine vibe.
-
Flat-iron bumps for a sleek, polished look.
-
Finger waves for that old-school glam.
-
Pin curls when you want definition and volume.
And no matter which style you choose, always use a heat protectant first — especially on lace frontal wigs or natural hair textures. Heat can make or break your look (literally).
💡 Pro Tip: Keep your tools on medium setting. Small sections and patience go a long way toward keeping your hair smooth and shiny without frying it.
📸 Visual: Styling demo video (ALT: Styling a Short Pixie Wig at Home)
When you’re done, give it a light comb-through or just use your fingers to shape it. That’s the beauty of a pixie — it’s simple, fast, and always looks put-together.
Step 7: Final Touches
You’ve shaped, styled, and brought your wig to life — now it’s time for those finishing touches that make it pop.
Start by tightening your straps or adjusting your band so the wig fits snug but still feels comfortable. If you prefer extra hold, you can add a little glue around the edges, but that’s totally optional.
Next, take less than a dime size of sculpting putty — a little goes a long way. Rub it between your palms and lightly work it through the ends or edges of your pixie. This helps define your layers and gives that soft, piece-y texture that looks natural, not stiff.
Then, add a quick mist of sheen spray or a drop of finishing serum for shine. Don’t overdo it — just enough to make your wig look healthy and fresh.
Think of this step as your “Secure → Adjust → Shine” moment.
You’re locking everything in and giving your look that final salon touch.
📸 Visual: 5-second “final reveal” clip (ALT: Finished Custom Pixie Wig Before and After)
BONUS: Styling & Maintenance Tips for Wig Longevity
These little extras will help you keep your custom wig looking fresh long after your first wear.
Styling Techniques for Different Occasions
One of the best things about a pixie wig is how versatile it is. The same cut can work for your everyday errands or a big night out — it’s all about how you style it.
Quick Style Chart:
-
Everyday: Keep it simple with soft waves or a light bump — just finger-style and go.
-
Events: Go bold with sharp pixie edges or defined curls for that red-carpet moment.
-
Professional: Try a sleek side part for a clean, confident look that says “I’ve got this.”
💡 Pro Tip: Change up your look with accessories — a headband, clips, or statement earrings can make the same wig feel brand new.
- Business
- Beauty
- Barbering
- Blogging
- Budgeting
- Branding
- Cannibis
- Catering
- Consulting
- Coaching
- Content Creation
- Counseling
- Commerce
- Coffee
- Construction
- Cosmetology
- Crafting
- Communications
- Credit Repair
- Cleaning
- Cooking
- Couponing
- ChatGPT
- Developmental Disabilities
- Digital Marketing
- Dog Breeding
- Dog Training
- Digital Stationary
- Drug Counseling
- Digital Art/Comics
- Education
- Energy
- Engineering
- Entertainment
- Economics
- Ecommerce
- Entrepreneurship
- Event Planning
- Fashion
- Finance
- Food & Beverages
- Fitness
- Florist
- Footwear
- Fragrance
- Film & TV
- Gaming
- Graphic Design
- Healing & Spirituality
- Hair Styling
- Health & Wellness
- Influencer Marketing
- Investing
- Investigative Journalism
- Investigator
- Life Coaching
- Leadership
- Legal
- Life Insurance
- Lifestyle
- Logistics
- Locksmith
- Landscaping
- Manufacturing
- Marketing
- Media
- Military
- Mortgages
- Manicurist
- Ministry
- Music
- Mind, Body, & Soul
- Operations
- Outdoor
- Podcasting
- Physical Therapy
- Product Development
- Project Management
- Public Service
- Pets
- Public Relations
- Photography
- Plumbing
- Publishing
- Production
- Personal Development
- Personal Services
- Print On Demand
- Recreation
- Natural Resources
- Real Estate
- Recipes
- Relationships
- Retirement
- Roofing
- Sales
- Science
- Singing
- Songwriting
- Social Media Marketing
- Shopify
- Sports
- Storytelling
- Tourism
- Transportation
- Technology Information
- Taxation
- Tech
- Trademark
- Writing
- Wealth
- World Change
- Wig Making
- Web Development
- Weight Loss
- Youtube
- Other Niches
- Artificial Intelligence
- Advertising
- Agriculture
- Art
- Authoring
- Apparel
- Aquatics
- Aviation
- Anger Management
- Automotive